
How to Find Hairtype at Home: Ultimate Guide for Men
Stop Guessing—Start Knowing Your Hair Type Today
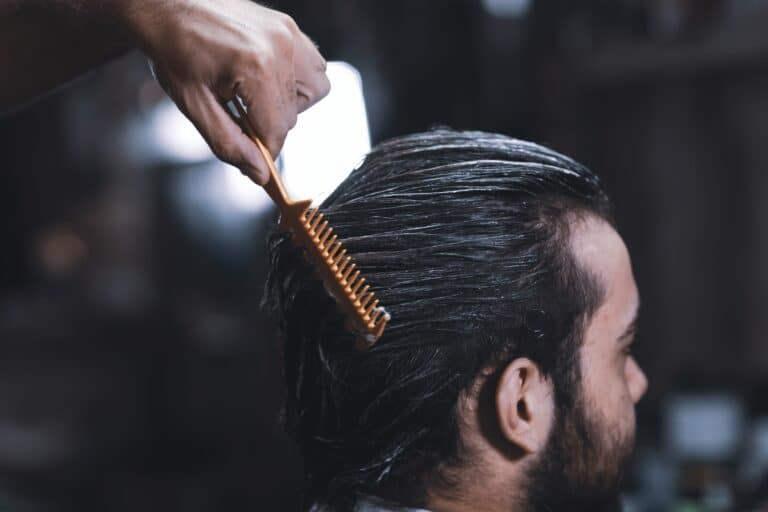
Why Your Hair Type Matters
If you’ve ever wondered why some products work for others but leave your hair a mess, it’s simple: they know their hair type, and you don’t. Wasting time on the wrong routine or money on the wrong products ends here. To find hairtype at home, you don’t need fancy tools—just follow this no-fluff guide.
Here’s what you’ll learn:
- How to find hairtype at home with simple, actionable steps.
- The real reason your hair behaves the way it does—so you can finally get it right.
- Why knowing your hair type is the foundation of a winning hair care routine.
Step 1: Wash and Air Dry Your Hair
Start with a Clean Slate
Before you find hairtype at home, strip away product buildup to see your hair’s natural texture.
- Wash with a Mild Shampoo
- Use a sulfate-free shampoo to cleanse without over-drying.
- Skip conditioner, oils, and styling products—they alter your hair’s true state.
- Air Dry Completely
- No blow dryers or rough towel rubbing.
- Gently blot excess water with a soft towel or cotton T-shirt.
- Wait until your hair is 100% dry before moving to the next step.
Why This Matters: Clean, untouched hair is the only way to find hairtype at home accurately
Step 2: Observe Your Hair’s Natural State
Identify Your Hair Type
Now that your hair is dry, observe its natural texture without manipulation.
- Stand in Front of a Mirror
- Look at how your hair falls naturally.
- Examine roots, mid-lengths, and ends—your hair type may vary.
- Match Your Hair to These Types:
- Straight (Type 1): Lies flat, smooth, and shiny.
- Wavy (Type 2): Forms loose, S-shaped waves.
- Curly (Type 3): Defined ringlets or spirals.
- Coily/Kinky (Type 4): Tight, zig-zag curls.
Why This Matters: Your hair type determines the right products and routine.
Step 3: Perform a Strand Test
Check Thickness & Pattern
Go deeper by examining individual strands to understand how your hair reacts to products and styling.
- Examine a Single Strand
- Pull a strand and observe its shape: straight, wavy, curly, or coily.
- Roll it between your fingers to check thickness: fine, medium, or coarse.
Why This Matters: Thickness affects how products work—fine hair gets weighed down, while coarse hair needs more moisture
Step 4: Test Hair Strength & Elasticity
Health Check
Your hair’s strength and elasticity reveal its ability to handle styling and daily wear.
- Dry Stretch Test
- Gently pull a dry strand:
- Healthy hair stretches slightly and bounces back.
- Damaged hair snaps or stretches too much.
- Gently pull a dry strand:
- Wet Elasticity Test
- Repeat on a damp strand:
- Good elasticity = healthy, moisturized hair.
- Low elasticity = dryness or damage.
- Repeat on a damp strand:
Why This Matters: High elasticity means strong, resilient hair. Low elasticity signals a need for deep conditioning.
Step 5: Check for Split Ends & Damage
Spot the Signs
Split ends are a clear sign of damage. Here’s how to check:
- Examine Your Ends
- Smooth, even ends = healthy hair.
- Frayed, split, or white dots = damage.
- Fix It:
- Mild splits? Deep condition.
- Severe damage? Trim and avoid heat.
Why This Matters: Damaged ends weaken your hair over time—regular trims and hydration are key.
Step 6: Touch & Shine Test
Assess Texture & Health
Run your fingers through your hair and observe its shine:
- Touch Test
- Soft & smooth = well-nourished.
- Rough or brittle = needs hydration.
- Shine Test
- Shiny & reflective = healthy cuticle.
- Dull or frizzy = moisture loss or damage.
Why This Matters: Soft, shiny hair is hydrated and healthy—rough, dull hair needs care.
Step 7: Water Absorption & Porosity Test
Find Hairtype at Home with This Simple Check
Your hair’s porosity determines how well it absorbs and retains moisture.
- Water Spray Test
- Spray water on dry hair:
- Sits on top = low porosity.
- Absorbs fast = high porosity.
- Slowly absorbs = normal porosity.
- Spray water on dry hair:
- Glass of Water Test
- Drop a strand in water:
- Floats = low porosity.
- Sinks slowly = normal porosity.
- Sinks fast = high porosity.
- Drop a strand in water:
Why This Matters: Knowing your porosity ensures you hydrate your hair the right way.
Step 8: Scalp Health Check
The Foundation of Healthy Hair
A healthy scalp supports strong, vibrant hair. Here’s how to check:
- Examine Your Scalp
- Healthy: No flakes, redness, or irritation.
- Unhealthy: Dandruff, oiliness, or sensitivity.
- Fix It:
- Dry scalp? Hydrate.
- Oily scalp? Use balancing shampoos.
Why This Matters: Scalp health is the key to long-term hair growth and strength.
Step 9: Track Your Progress
Maintain a Record
Your hair changes over time—tracking helps you adjust your routine.
- Write Notes & Take Pictures
- Record details about your hair type, porosity, and scalp condition.
- Capture progress in natural light every few weeks.
Why This Matters: Tracking reveals what works, saving you time and money.
Conclusion: What’s Next?
Now that you’ve learned how to find hairtype at home, it’s time to take action. Use this knowledge to choose the right products, build a tailored routine, and achieve your best hair yet.
Don’t Stop Here: Read our Blog
- Subscribe Evokarma for expert tips on caring for your hair type.
- Discover the best products for your needs.
- Master hair health and styling like a pro.
Join the Evolution—Subscribe Now!
Got questions? Drop a comment or reach out. Your journey to better hair starts today